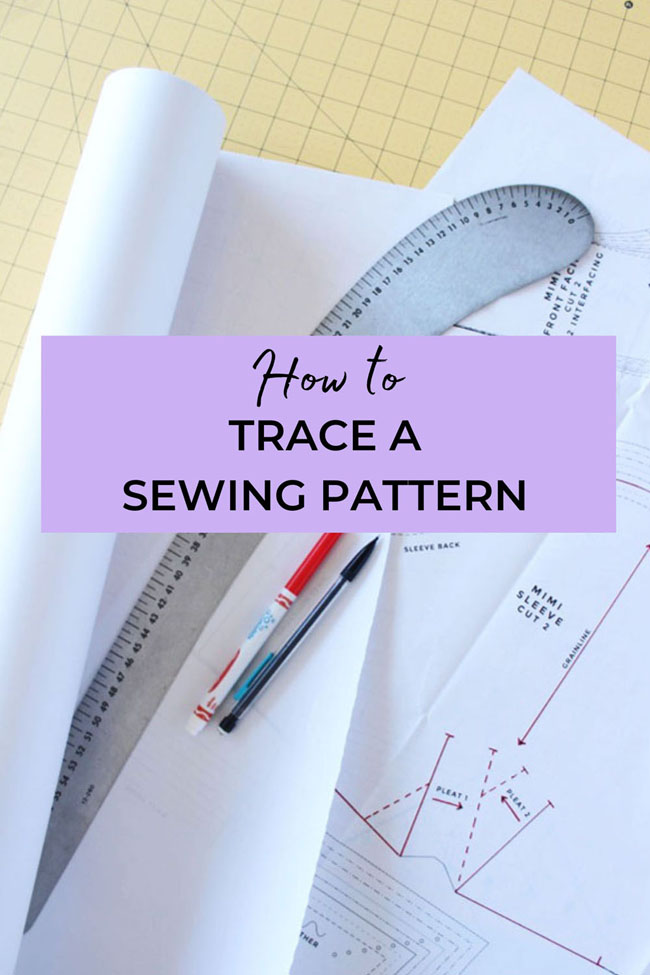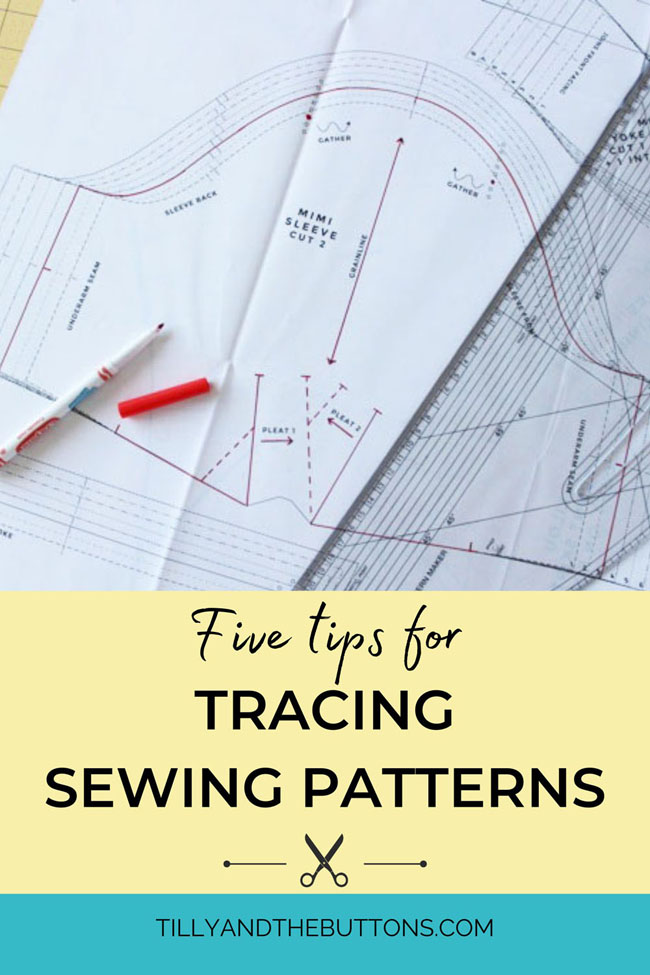
Can we talk pattern tracing techniques, please? Tracing sewing patterns is one of those subjects that will either seem really obvious to you or will leave you perplexed and wondering if you’re doing it right. Most people haven’t traced anything since primary school! Since it’s something I get quite a few questions about, I thought it worth covering dans le blog…


Why should you trace a sewing pattern?
While you don't always need to trace a sewing pattern, there are various reasons why you might decide to:
- To keep larger sizes on a multisized printed sewing pattern intact in case you want to use them another time
- To have a copy that you can play around with, whether to make fitting adjustments for your individual body shape or for design hacking purposes
- To use a pattern from a book or a magazine, which are usually printed double-sided and overlapping so they can include multiple patterns while keeping the price affordable (as is the case in my sewing pattern books)
- To preserve the original pattern, particularly if it’s printed on delicate tissue, or if it’s a vintage pattern that future generations might enjoy one day.
When should you not bother tracing a sewing pattern?
If you have access to a PDF version of the pattern and are happy to reprint it if you need another copy, then there isn't really a need to trace a sewing pattern. The patterns included printed in my books, for example, are also available as PDF downloads for anyone who doesn't want to trace them off.
I sometimes trace a pattern directly onto fabric using dressmaker's carbon and a tracing wheel, which means you don't need to cut exactly on the lines - so this is another way of keeping the original pattern intact.
Also, if you are using a regular printed sewing pattern with no overlapping pieces, and really can't be bothered to trace it off, then don't!
How do you trace a sewing pattern?
Here are a few tips that I find useful…

1) Prepare the pattern
If you’re using a multisized pattern (such as Tilly and the Buttons sewing patterns), you might find it useful to highlight your size first to help you see which lines to trace. Go over the lines in a coloured pen, and don’t forget the markings such as notches, grainline arrows and gather points too.

2) Choose your paper
There are no rules on what paper to use for sewing patterns, so choose what works for you. You can try tracing paper, baking paper, lightweight flipchart paper, spot and cross paper, or even Swedish tracing paper, which is a stitchable material great for making toiles. I like to use big rolls of 60gsm printer paper - it's not quite as translucent as tracing paper but I find it less slippery to use.

1) Prepare the pattern
If you’re using a multisized pattern (such as Tilly and the Buttons sewing patterns), you might find it useful to highlight your size first to help you see which lines to trace. Go over the lines in a coloured pen, and don’t forget the markings such as notches, grainline arrows and gather points too.

There are no rules on what paper to use for sewing patterns, so choose what works for you. You can try tracing paper, baking paper, lightweight flipchart paper, spot and cross paper, or even Swedish tracing paper, which is a stitchable material great for making toiles. I like to use big rolls of 60gsm printer paper - it's not quite as translucent as tracing paper but I find it less slippery to use.
I also find it can help to put a piece of blank white paper under the pattern to hide any distracting markings on the cutting mat.
Alternatively, you could use a non-translucent paper, such as parcel paper – lay the pattern on top, trace over the lines with a serrated tracing wheel, then draw over the indentations with a pencil.

3) Keep it steady
To get an accurately traced pattern, start by making sure the pattern itself lays nice and flat. If it’s crumpled, give it a press with a cool, dry iron to smooth it out. Lay your tracing paper on top, and secure everything down with either tape or weights (as you can see, I use whatever I have to hand as “weights”!).
Alternatively, you could use a non-translucent paper, such as parcel paper – lay the pattern on top, trace over the lines with a serrated tracing wheel, then draw over the indentations with a pencil.

3) Keep it steady
To get an accurately traced pattern, start by making sure the pattern itself lays nice and flat. If it’s crumpled, give it a press with a cool, dry iron to smooth it out. Lay your tracing paper on top, and secure everything down with either tape or weights (as you can see, I use whatever I have to hand as “weights”!).
I’d avoid using pins here as they can make the paper rise up a little and thus change the shape that you’re tracing.


4) Join the dots
Using a light pencil so you can erase any mistakes, start by quickly dotting the corners and every couple of cm or so on any curves, all the way round the pattern. Add in the markings, such as notches, gather points and grainlines.


4) Join the dots
Using a light pencil so you can erase any mistakes, start by quickly dotting the corners and every couple of cm or so on any curves, all the way round the pattern. Add in the markings, such as notches, gather points and grainlines.
Check the paper hasn’t shifted and that all your dots and markings are in the right place. Now join up the straight lines and corners with a straight ruler, and join the dots on the curved lines with a curved ruler (or a steady hand if you don’t have one).
Once you’re happy that your lines are accurate, you can go over them in a pen if you like – a finer pen will keep the pattern more accurate.

5) Transfer all the information
Finally, label your pattern pieces so when you find them a few months down the line under a pile or random stuff, you know what they are and how to use them! Write on each piece the name of the pattern, what piece it is, the size, any fitting or design changes you’ve made to it, how many pieces to cut and any interfacing pieces you need to cut from it.

Finally, label your pattern pieces so when you find them a few months down the line under a pile or random stuff, you know what they are and how to use them! Write on each piece the name of the pattern, what piece it is, the size, any fitting or design changes you’ve made to it, how many pieces to cut and any interfacing pieces you need to cut from it.
Tilly and the Buttons patterns also include labelled seam lines and markings so you can easily see which bits go together – you may want to transfer these too to help you during the construction process.

And that’s it! An accurately traced off sewing pattern.

And that’s it! An accurately traced off sewing pattern.
P.S. If you liked this, you may also like Five Tools for Drafting, Tracing and Adjusting Sewing Patterns.
Some of the links in this post are affiliate links, meaning that if you choose to buy something from that site, we receive a small percentage of the sale as compensation. This doesn't cost you anything extra.

