2 January 2012

How to Set Up Your Sewing Machine


How to Set up Your Sewing Machine - Tilly and the Buttons


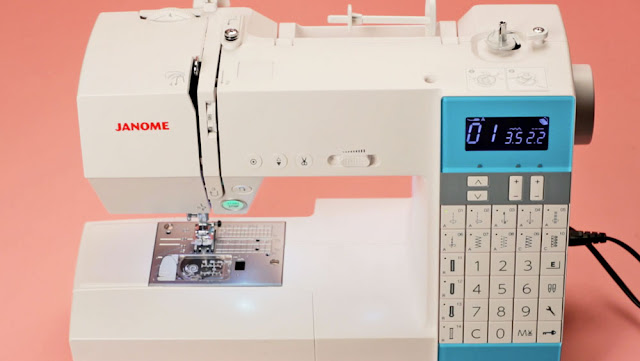
First time in front of a sewing machine? Sewn in the past but need a refresher? I'm going to walk you through the basic steps to set up your sewing machine - plugging it in, changing the needle and attaching the presser foot.

Machines vary, so some of the parts on my machine (a Janome DKS100) may be in different positions to yours, but nothing will be that different that you won't be able to work it out.

Ready to sew? Let's go!

1) Plug it in!
How to Set up Your Sewing Machine - Tilly and the Buttons

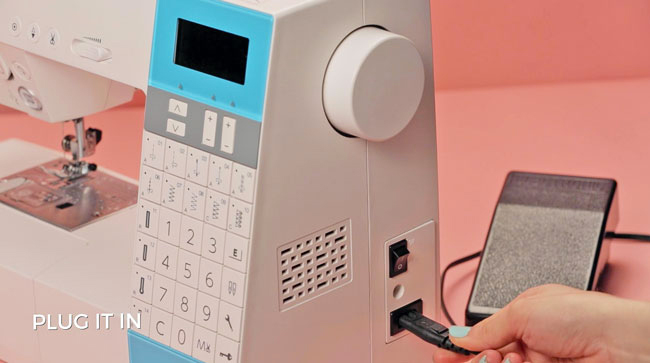
Plug the cable into your machine and the power socket. Plug the pedal in too if it's on a separate lead. Position the pedal on the floor where you can comfortably reach it with your foot while seated.

(Note: You don't need to turn your machine on for any of the steps in this post - it's advisable to leave it off so you don't accidentally sew over your hand!)

2) Change the needle
How to Set up Your Sewing Machine - Tilly and the Buttons

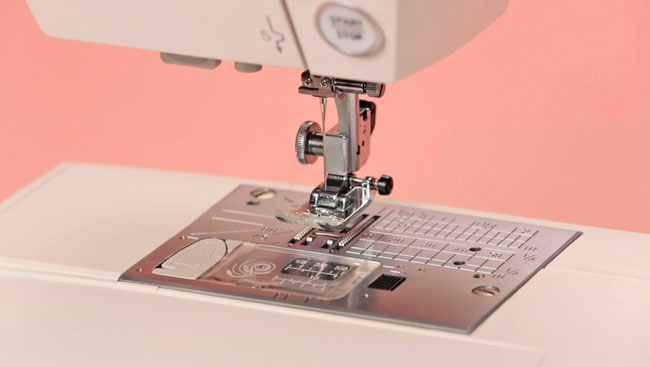
The needle may already be in place, in which case you can ignore this part if you like. But it's useful to know how to change it in case it snaps (eek!), if you want a different sized one (a thick one for thick material, a fine one for fine fabric, ballpoint for jersey...), or if you want to change to a fresh, sharp one every so often.

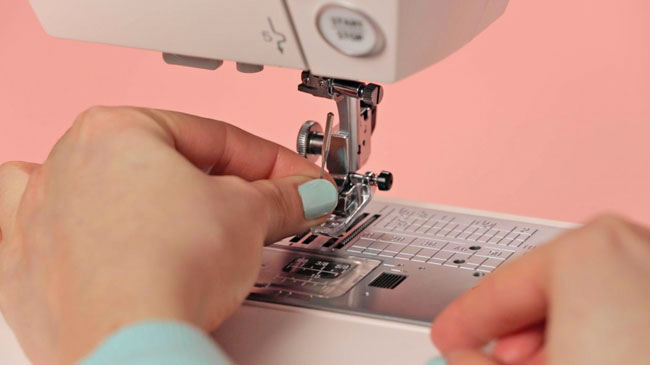
To remove the needle, twist the little knob to its right a couple of turns - this will loosen the needle so you can pull it out. You may need a small screw driver to do this.

To insert the needle, push it up into the hole and tighten the knob again. The top of the needle is rounded on the front side and flat on the back side so you should be able to tell which way to put it.

3) Attach the presser foot
How to Set up Your Sewing Machine - Tilly and the Buttons

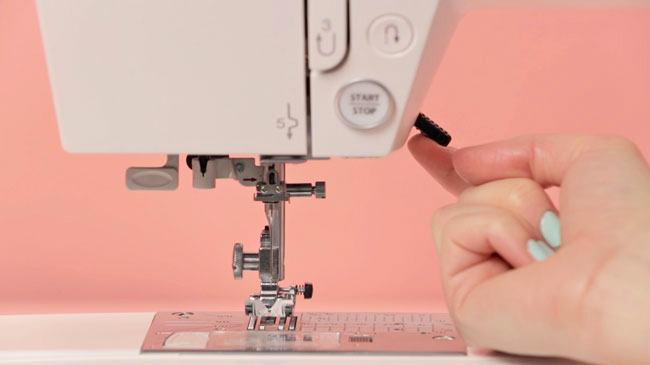
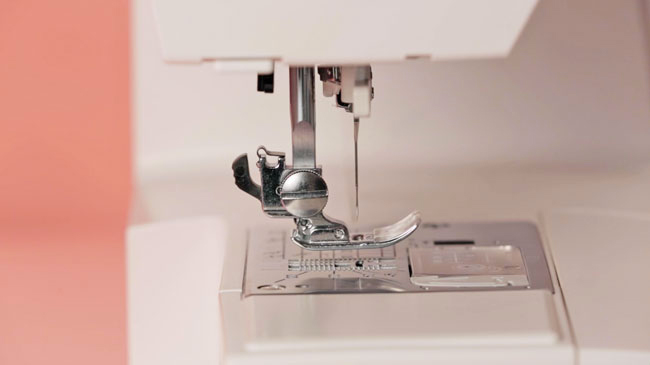
The presser foot is used to hold the fabric down and to guide the needle when stitching. You can get different kinds of feet designed for different stitches and notions, but you don't need to worry about that yet - a standard presser foot will get you far. The presser foot sits on the bottom of the bar behind the needle. There's a lever on the right which you can use to raise and lower it when you need to.

How to Set up Your Sewing Machine - Tilly and the Buttons

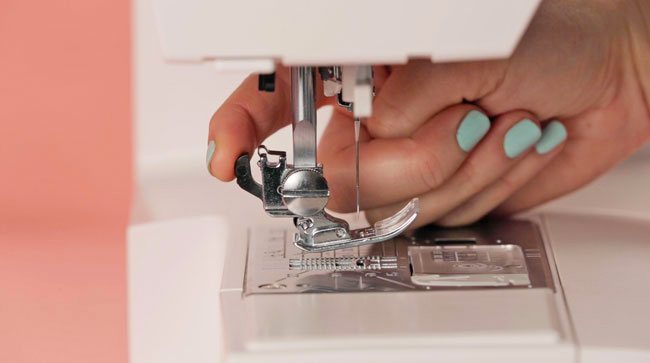
Some feet are attached with screws. My machine is a "snap on". To remove it, raise the bar using the lever on the right, then press the little lever or button at the back of the presser foot (or unscrew it) and it'll drop right off.

How to Set up Your Sewing Machine - Tilly and the Buttons

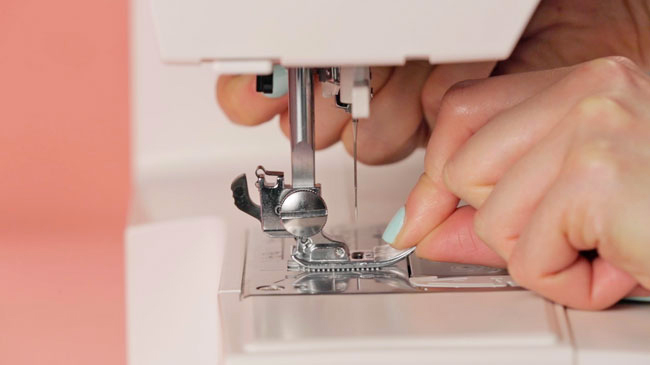
To put the presser foot back on, again you'll want the foot raised to start. Can you see there's a little bar on top of the presser foot? You want to position this bar directly underneath the little claw on the bar - take a look on the left-hand side if you can't see it from the front. Gently lower the presser foot as you shuffle it into the right position - it can take a few goes the first time you do this! Once it's clicked into place, you can raise the presser foot up again.

And now you're ready to thread your machine!

If you'd like some more help getting to grips with your machine, check out our online video workshop, Make Friends with a Sewing Machine.